This shop has been compensated by Collective Bias, Inc. and its advertiser. All opinions are mine alone. #HoneyMaidHouse #CollectiveBias
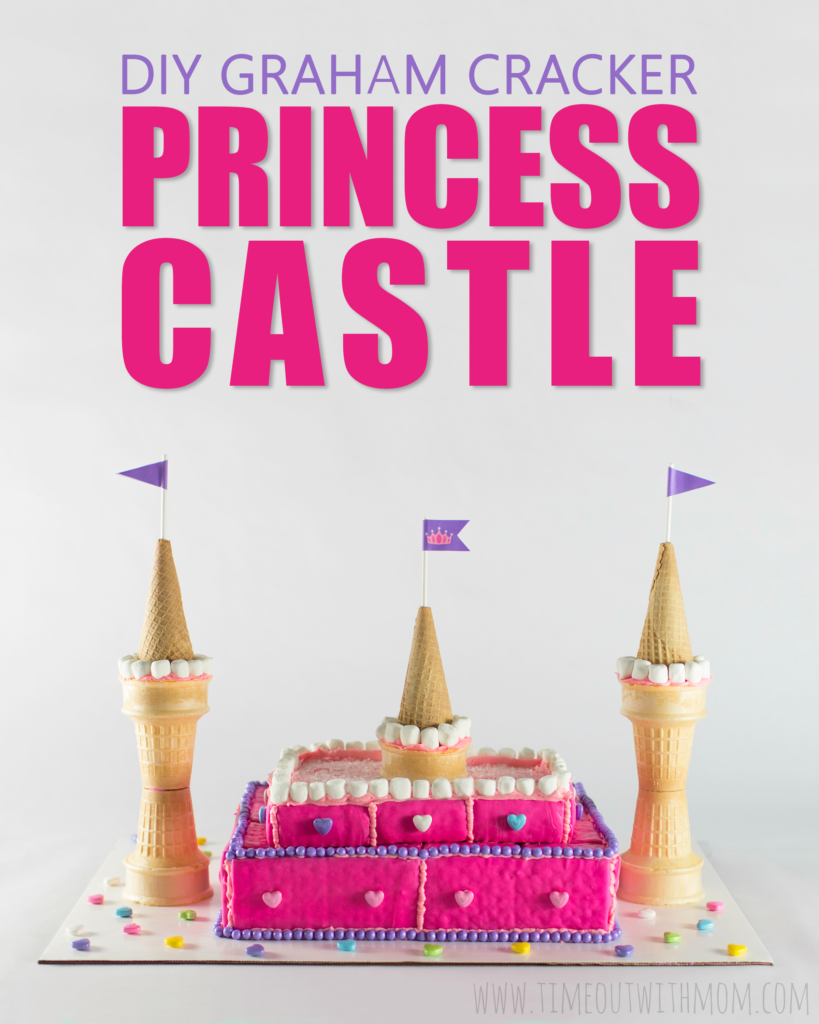
Ever since I can remember, Honey Maid Graham Cracker Houses have been a long time tradition for my family. I have so many fond memories of time well-spent with my grandparents and cousins. So when Bunbun was finally old enough to start making her own, I continued the tradition and my son is just about old enough to help now too!
Whether it’s building a princess castle like I’ll be sharing with you today, or a Dragon’s lair, Honey Maid graham cracker houses are a fun activity to do year-round and aren’t just for the Holidays. There are so many different things you can build and the possibilities are endless. You just have to use your imagination. Ask your little ones what they’d like to build. You’ll be surprised at their responses, but let them try!
Building is great for children. It allows them to explore with their creativity, increases motor skills, hand-eye coordination, social skills and even language skills. Building graham cracker houses is not only stimulating, but rewarding as well once they see the final result of their creations. So go grab your kids, family and/or friends and let’s build a princess castle!
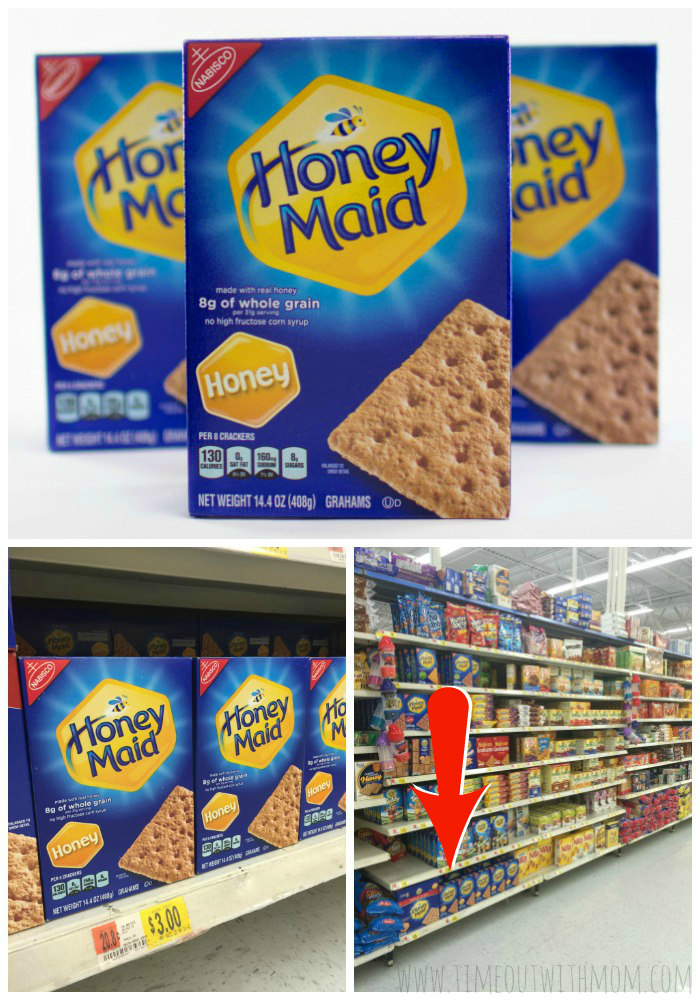
The main element of our graham cracker house is clearly the graham crackers. I like to use Honey Maid because they are sturdy and hold up well for all of our creations. I found these at Walmart on the cookie aisle. We have tried other brands and of course the traditional gingerbread method, but most either don’t hold up well or the kids get impatient waiting for things to cool and/or dry. So, Honey Maid graham crackers are not only great for snacking, but building as well!
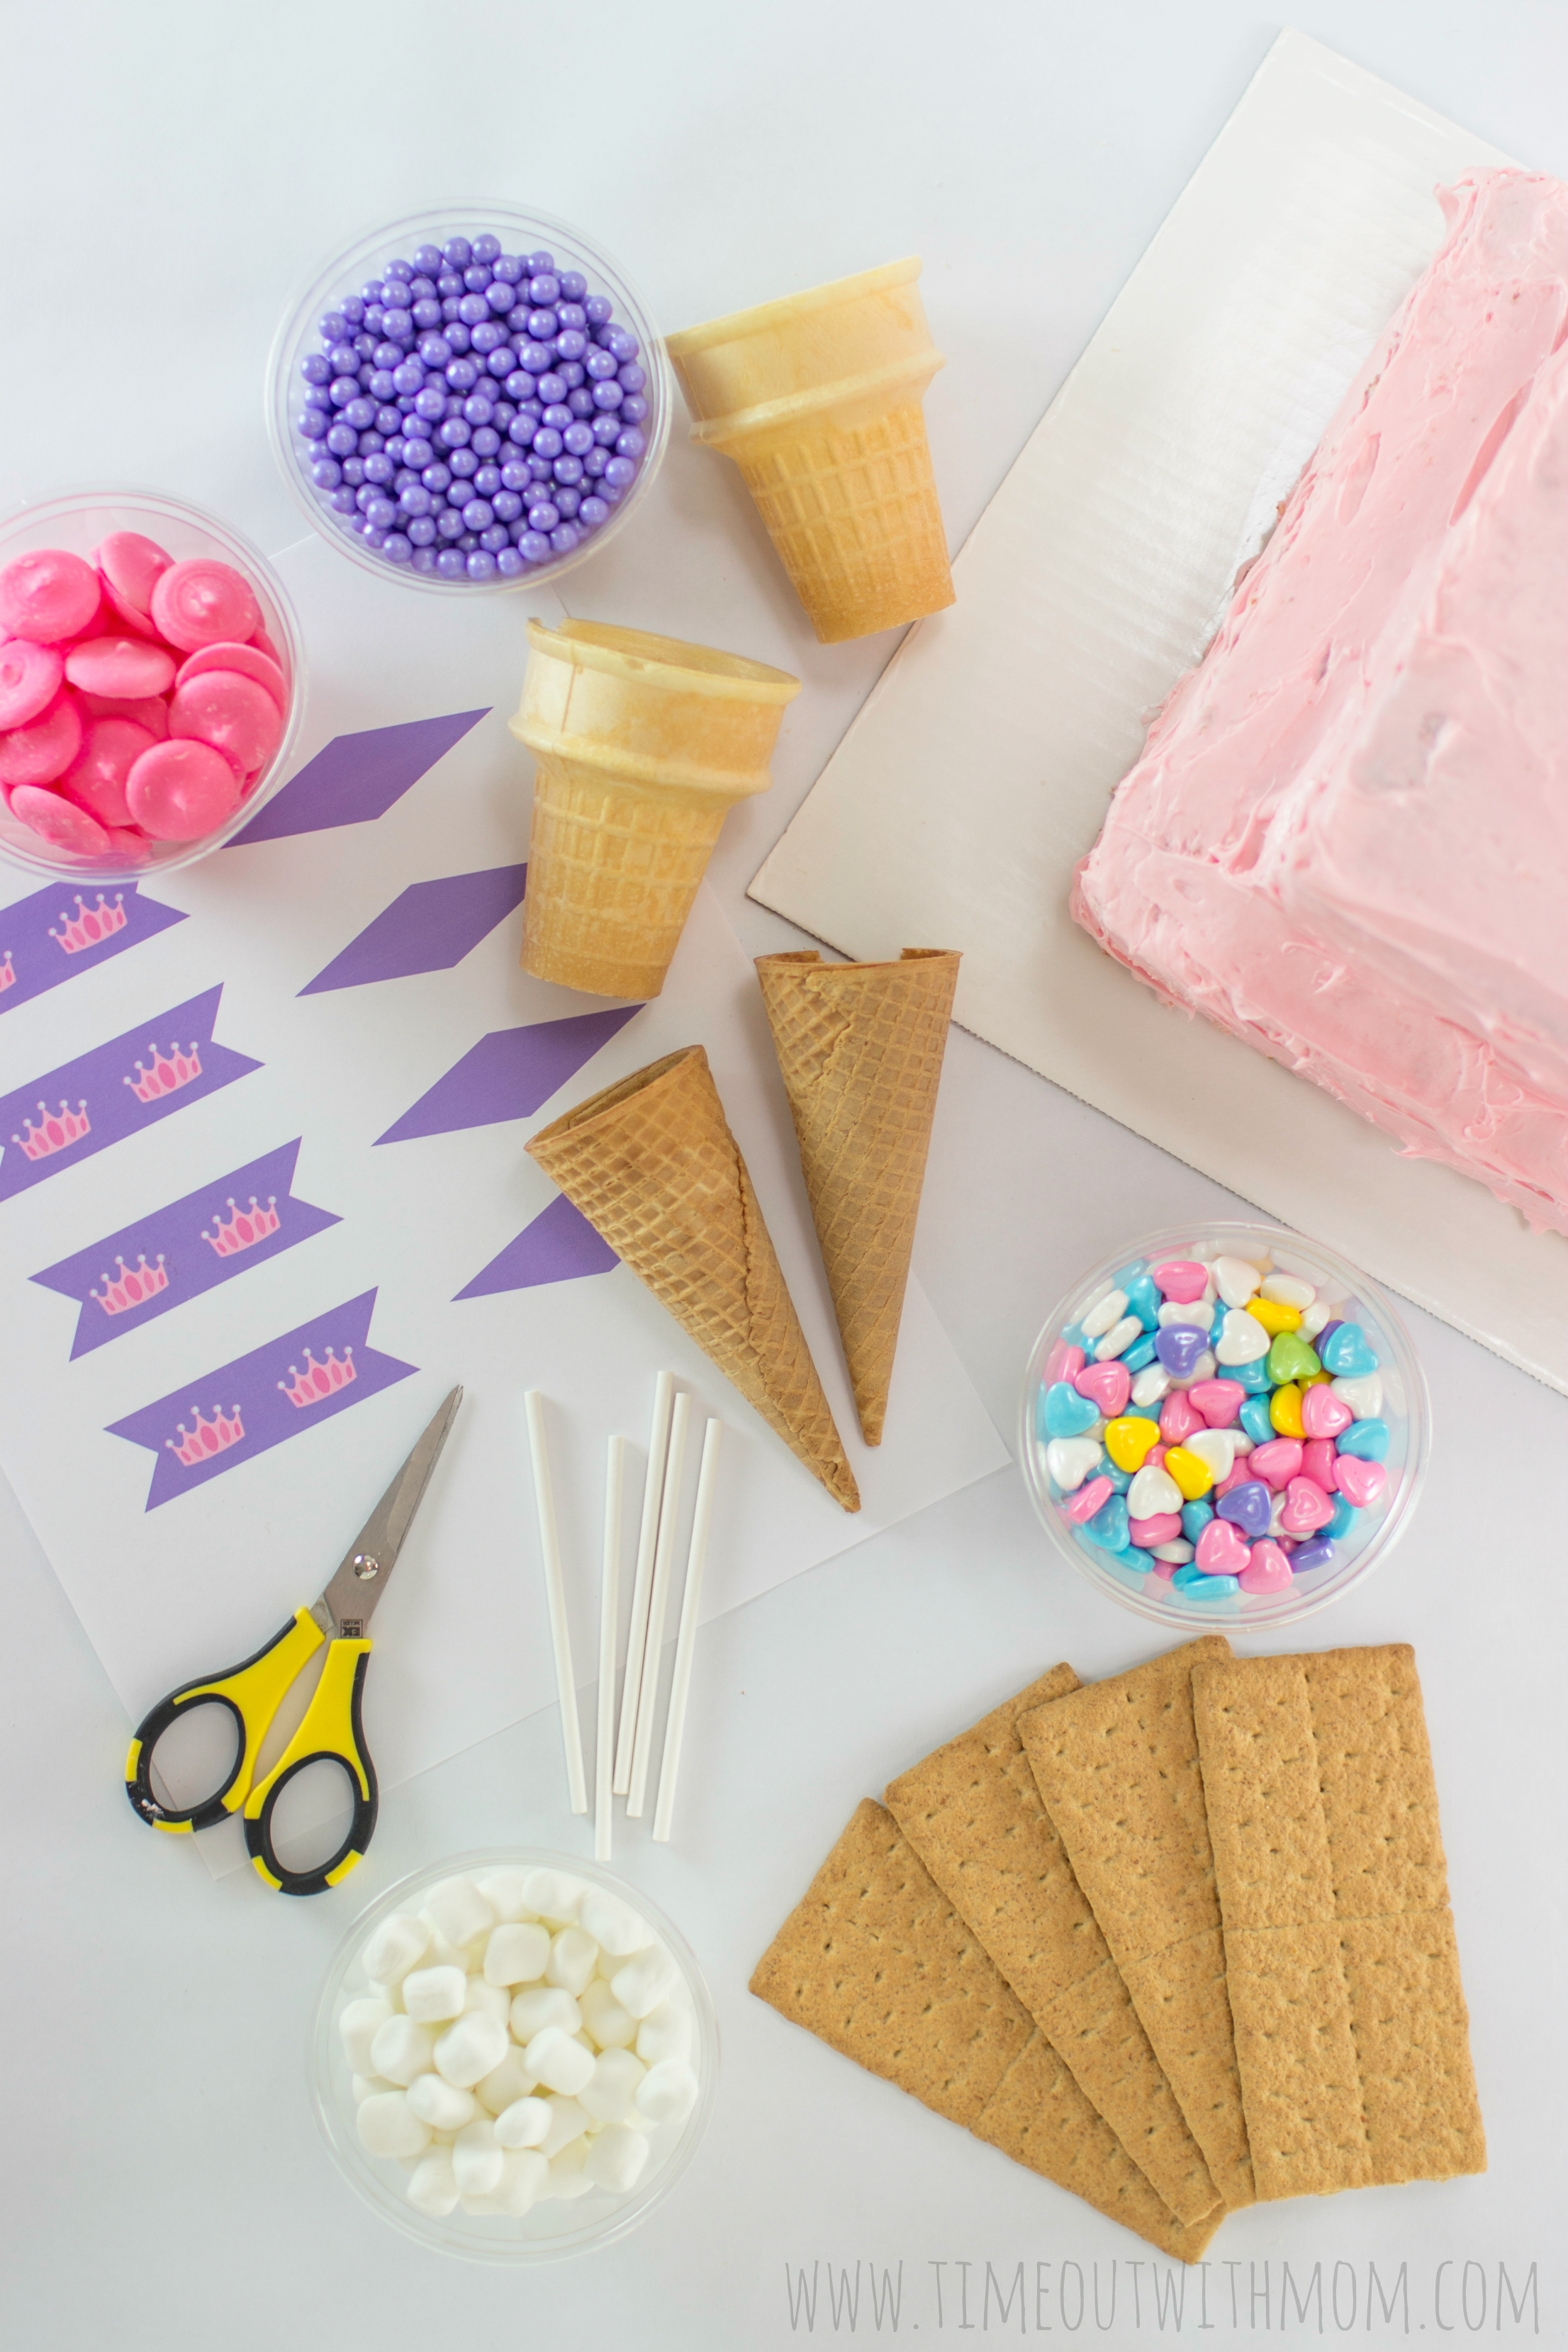
So, here is what you’ll need:
- 2-3 Boxes of Honey Maid Graham Crackers
- 3 Frozen Pound Cake Loaves
- 2-3 Tubs of Whipped Frosting of choice
- 2 1lb. Bags of Melting Chocolates, any color
- 1 Box of Ice Cream Cones
- 1 Box of Sugar Ice Cream Cones
- Printable Princess Castle Flags
- 3 – 5 Treat Sticks
- Scissors
- Glue Stick
And of course, decorating candies of your choosing. We used the following:
- Marshmallows
- Candy Pearls
- Candy Hearts
- Clear Sprinkles
Now, let’s get started!
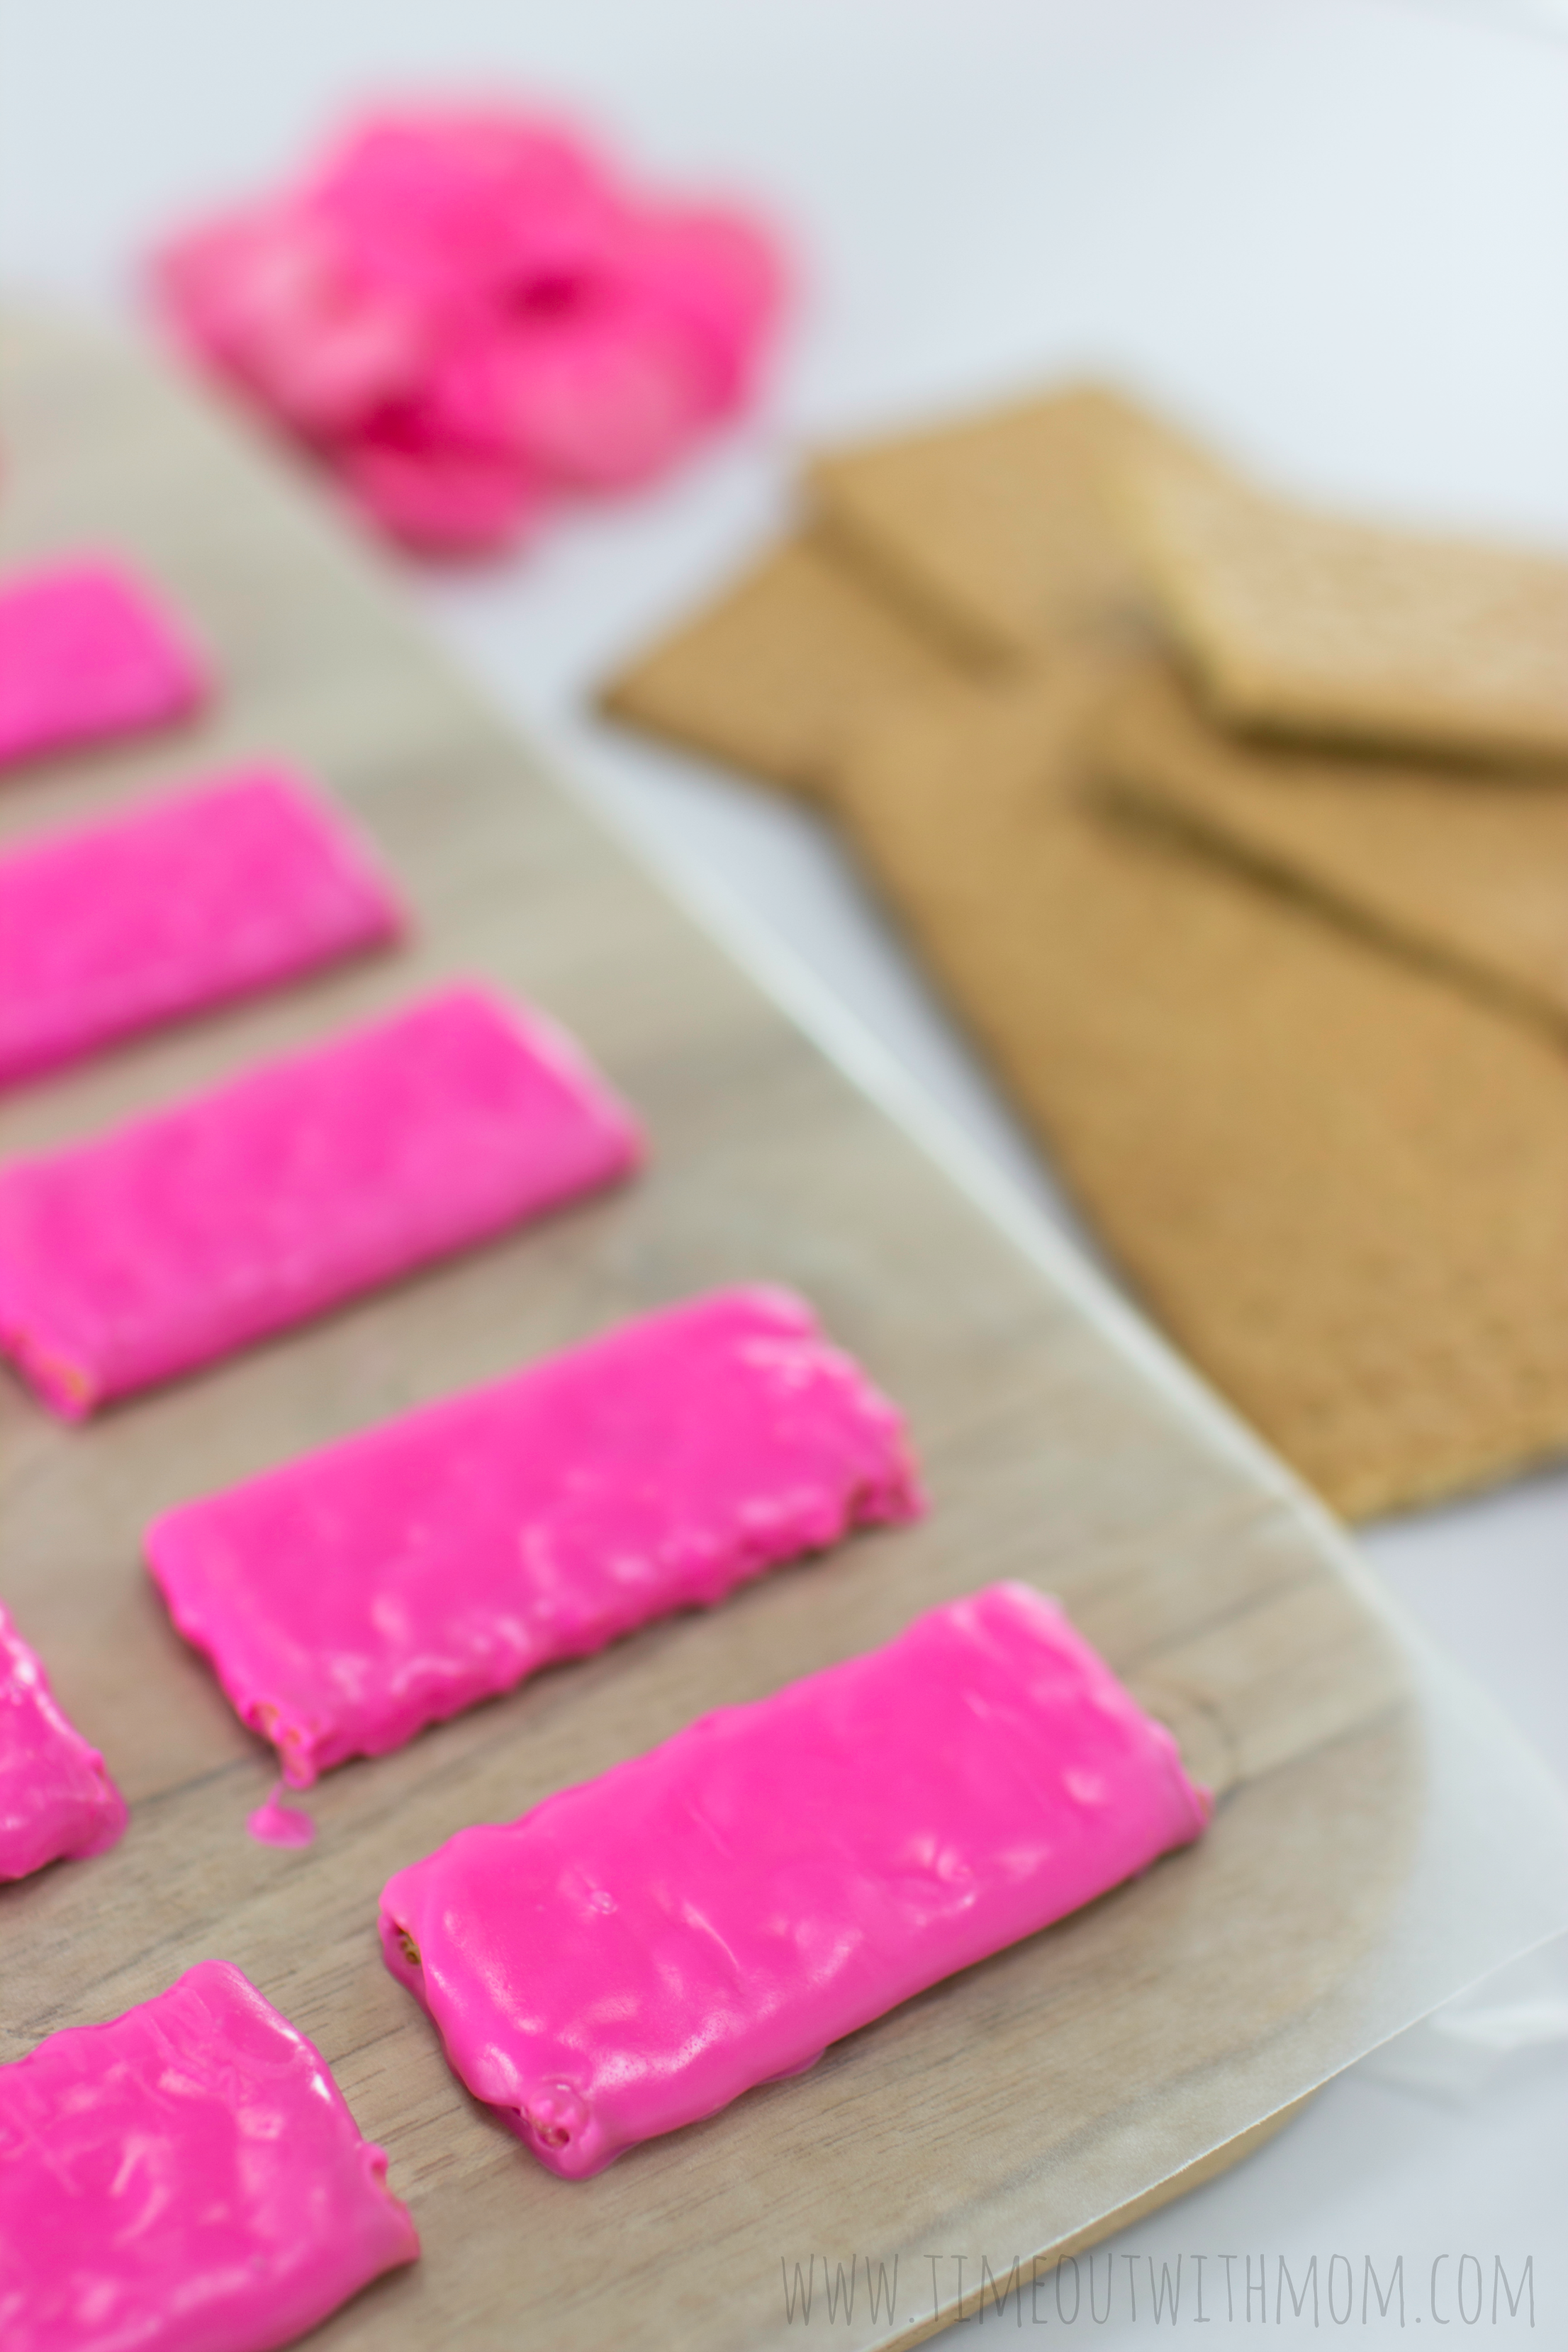
We began by melting our pink chocolate and dipping the Honey Maid graham crackers in to coat. We dipped full-sized and quarter sized crackers for our castle and placed them on wax paper to harden.
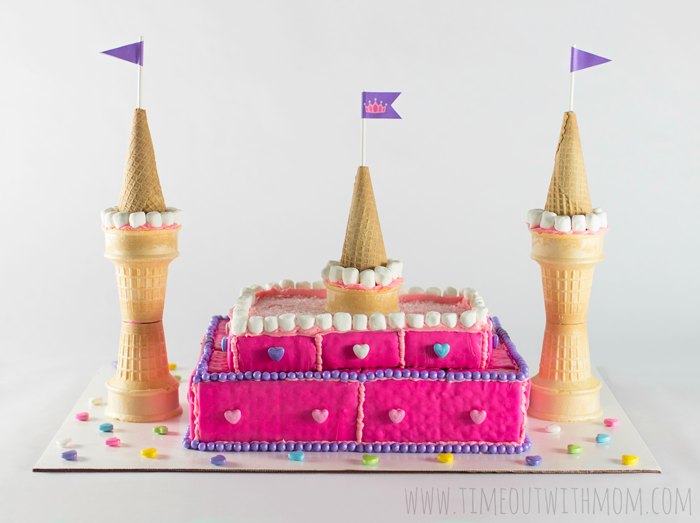
In the meantime, we opened 3 loaves of pound cake and trimmed off the tops to make them even. We placed two side-by-side and cut the last loaf in half to place next to one another and form a square for layer two. We frosted the two layers with icing and began placing our covered graham crackers along the sides. We used a bit of additional frosting on the back of the crackers to secure them to the cake and ensure that they would stay put. We also left the top of our castle exposed with just frosting, so we could add our castle topper and decor later on.
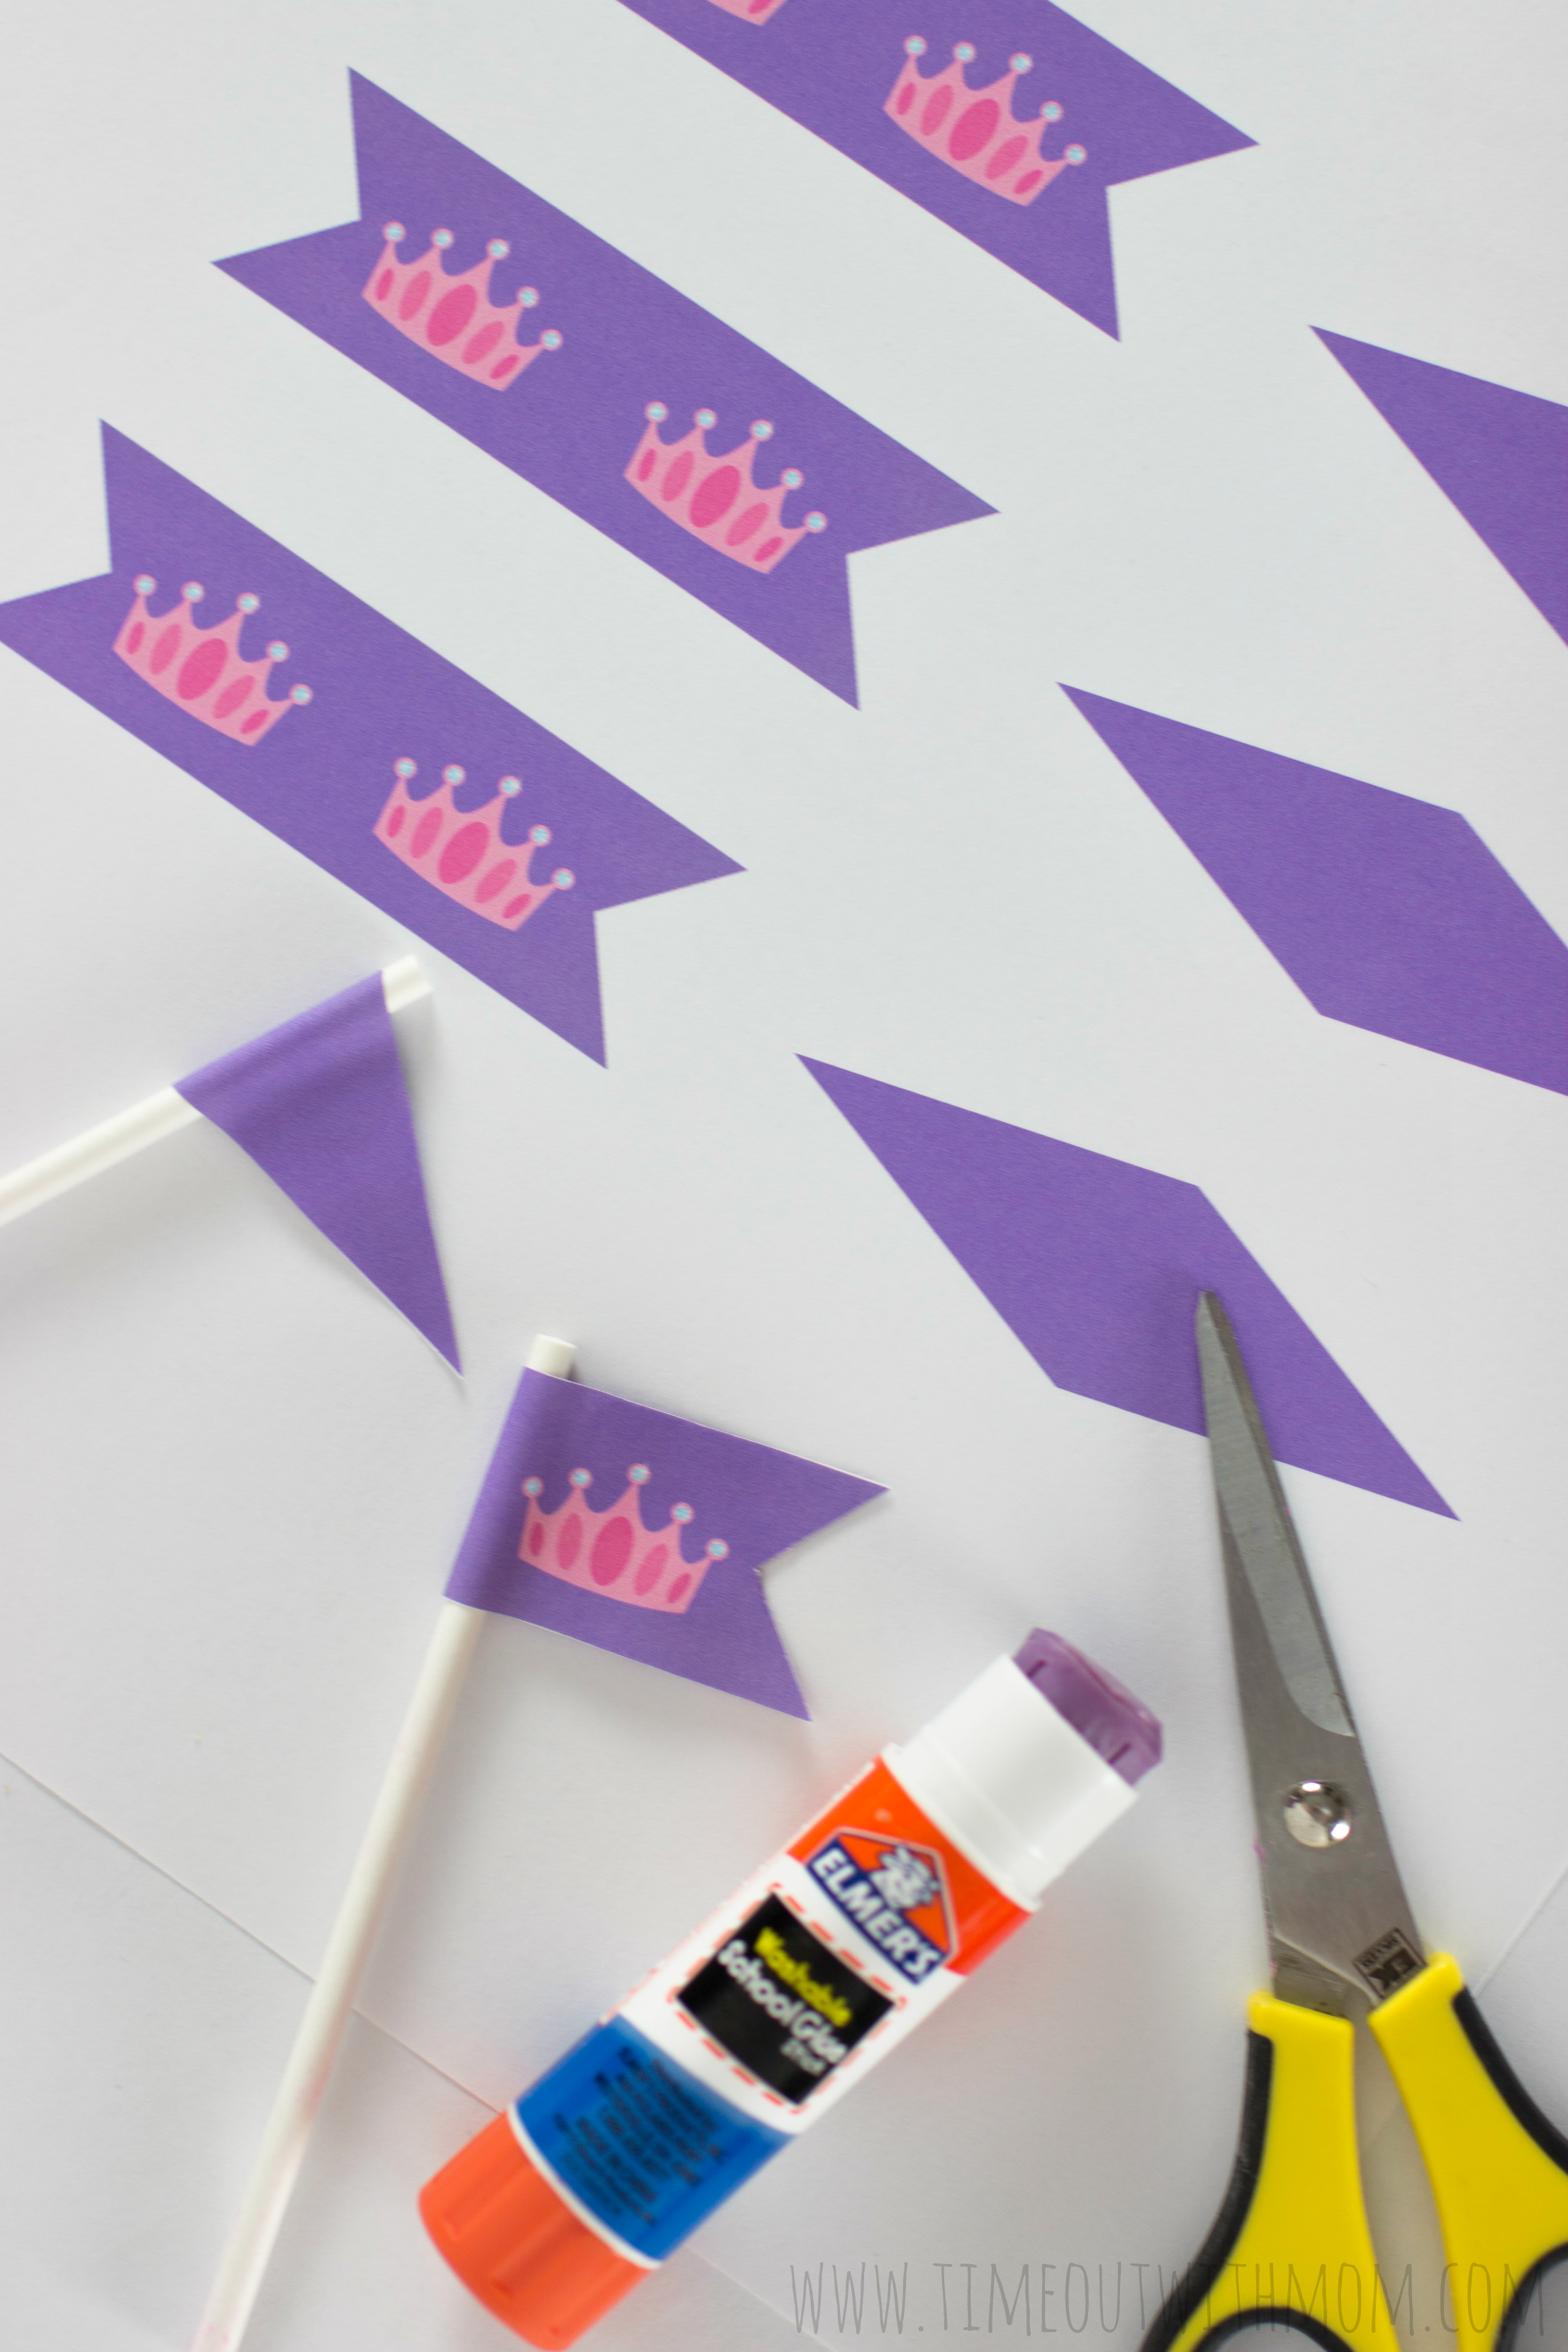
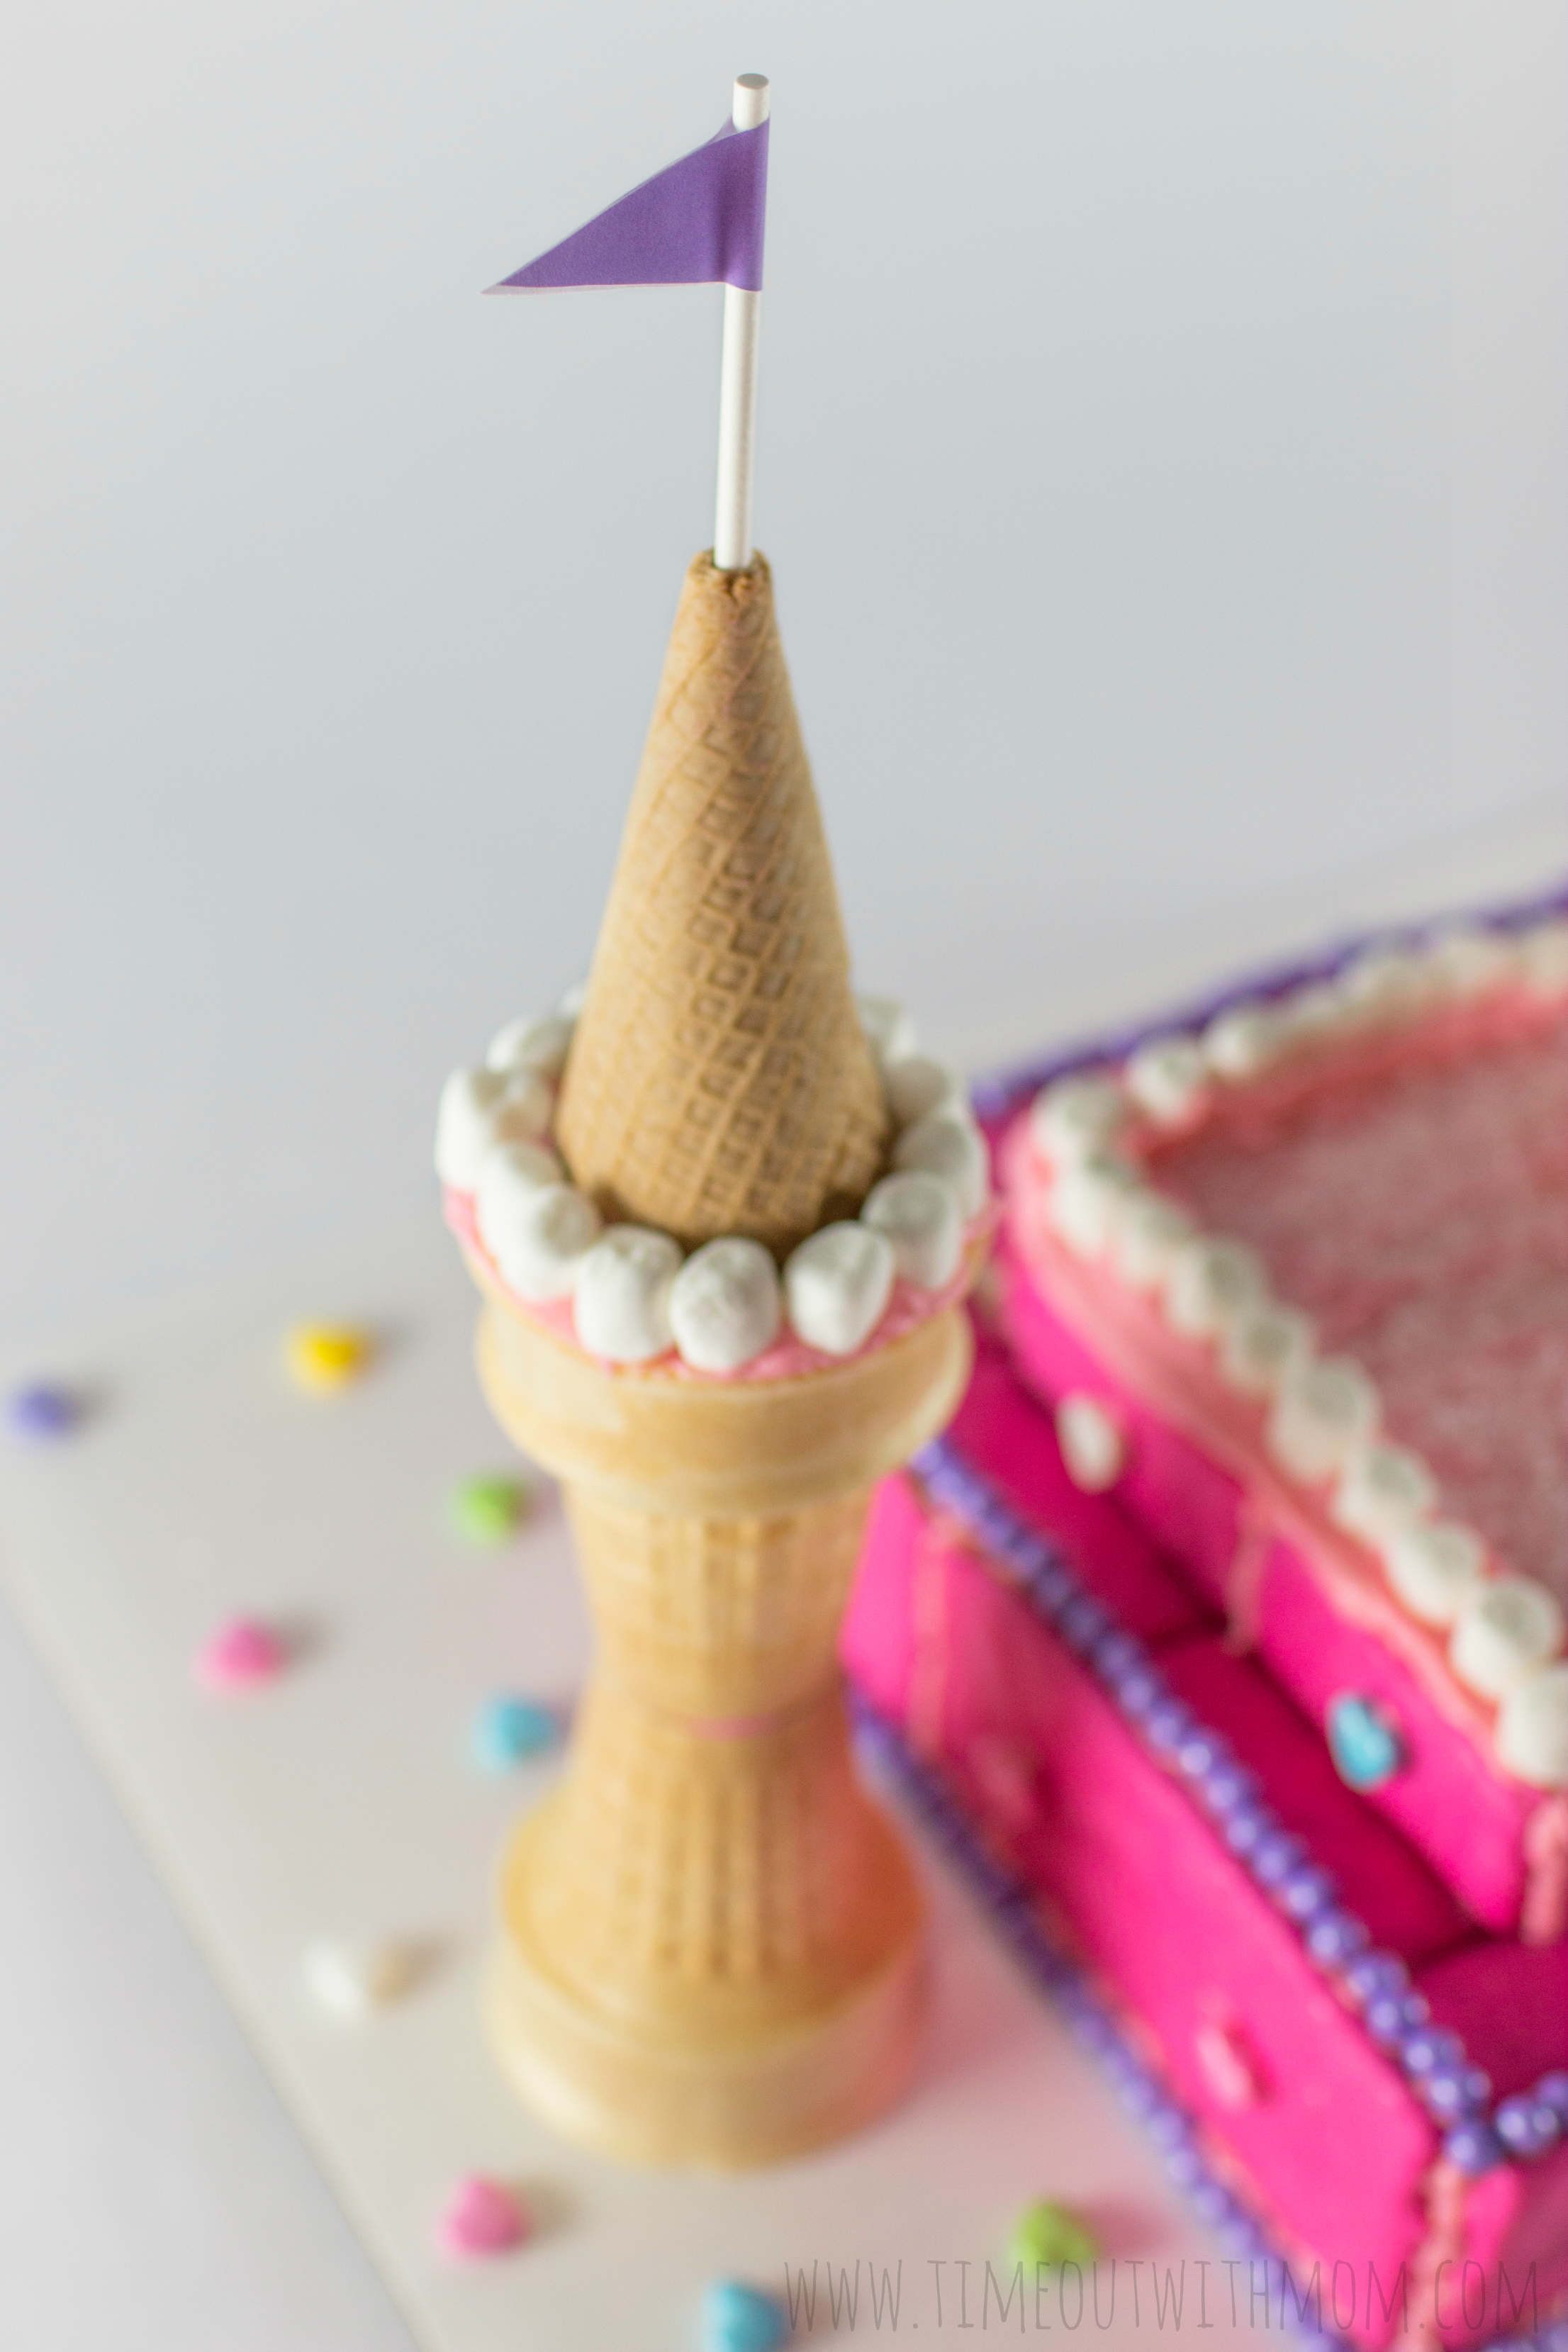
Once we had our structure completed, I created these cute little princess castle flags and printed them out on regular printer paper. I cut each flag out with my scissors and glued them around a treat stick. We then removed the tip/end of a sugar cone and inserted our flag. It fit just right! However, if you happen to cut too much off, you can use a bit of frosting or melted chocolate to help hold it in place.
Each printable is 8.5″x11″ and can be printed at home or your local photo lab.
Note: Printables/Images are for personal use only. Not for resale.
We then grabbed a few ice cream cones and used a bit of the left over pink melted chocolate and stuck them together, end to end, to make two columns. I gently piped some frosting along the inside of the cone and stuck a sugar cone with our flag on top. For the center column, I gently cut the bottom portion of the cone off, placed the circle in the center of the cake and followed the same frosting process.
Finally, Bunbun decorated them with marshmallows all around and we decided how we would decorate the rest. We piped frosting along the edges and cracks of our castle and added each pearl and heart candy one-by-one. To get the hearts to stick along side the pink covered graham crackers, we simply added a bit of frosting to the back. And just like that, they stuck and they stayed!
To finish up, Bunbun said we needed “some sparkle”. She grabbed a jar of clear sprinkles and covered the top of the castle. When we finally stepped back to have a good look at our creation, we we’re in awe of how great it looked. Sometimes, all it takes is a little imagination. Bunbun and I spent some great quality time together building our castle and I will always cherish these moments with her.
Ingredients
- 2-3 Boxes of Honey Maid Graham Crackers
- 3 Frozen Pound Cake Loaves
- 2-3 Tubs of Whipped Frosting of choice
- 2 1lb. Bags of Melting Chocolates, any color
- 1 Box of Ice Cream Cones
- 1 Box of Sugar Ice Cream Cones
- Printable Princess Castle Flags
- 3 - 5 Treat Sticks
- Scissors
- Glue Stick
- Marshmallows (optional)
- Candy Pearls (optional)
- Candy Hearts (optional)
- Clear Sprinkles (optional)
Instructions
- Begin by melting colored chocolate as directed
- Dip each graham cracker in to coat and place on wax paper to set. To speed up the process, you can put them in the refrigerator or freezer
- Unwrap 3 loaves of pound cake and trim off the tops to make them even
- Place two loaves side by side and cut the final loaf in half
- Place the loaf halves next to one another and form a square for layer two
- Frost both layers with a thin coat of frosting
- Add a bit of frosting to the back of some covered graham crackers and place them along the sides of your cake to build a wall. Leave the top exposed
- Print and cut out the princess castle flags
- Wrap each flag around a treat stick and glue together to attach
- Remove the tip/end of a sugar cone and insert a flag. Secure with frosting or melted chocolate, if needed
- Using left over melted chocolate, attach two cones together, end to end to make a column. Repeat this step again to make multiple columns for your castle
- Gently pipe frosting along the inside of the cone and attach a sugar cone, with a flag on top
- For the center piece, carefully cut the bottom portion of an ice cream cone off
- Place the circle in the center of the cake and Gently pipe frosting along the inside of the cone
- Attach a sugar cone with a flag on top
- Decorate the edges of each column with marshmallows
- Finish off by piping frosting along the edges and cracks of your castle and use your imagination for decorating
- Enjoy!
What fun things have you built with graham crackers?





This is a cute idea! I love how it turned out! (client)