This shop has been compensated by Collective Bias, Inc. and its advertiser. All opinions are mine alone. #CreateWithHP #CollectiveBias
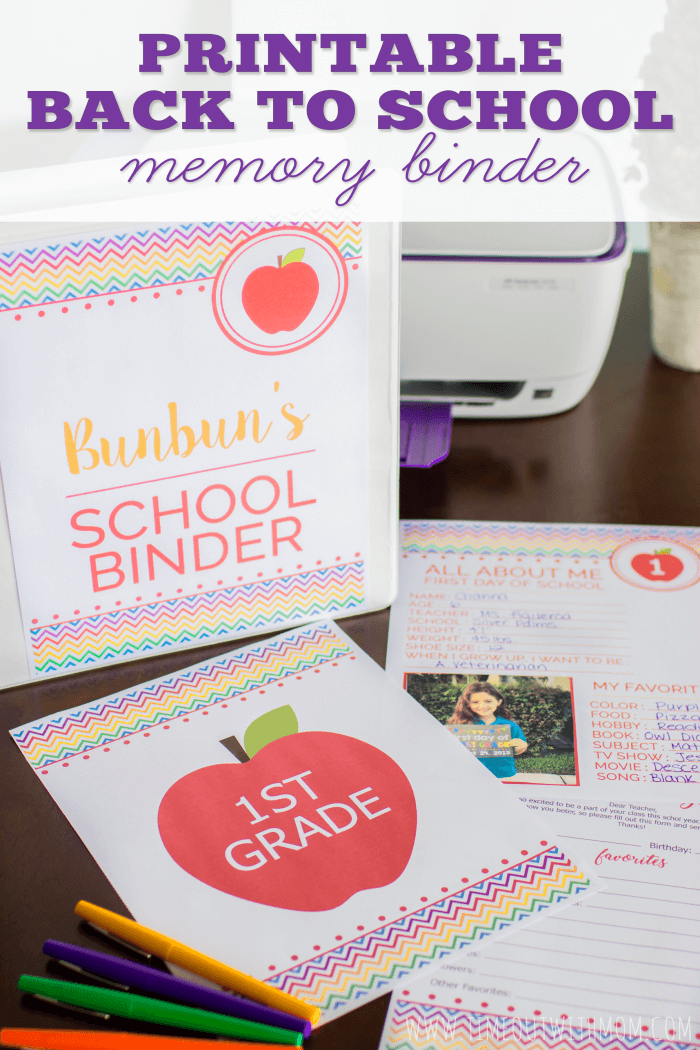 So, this is it. The last week of summer. I am feeling all types of emotions with my little guy heading to Pre-K for his first school experience and Bunbun moving up yet again. Our summer was filled with much relaxation and the rest that we all needed. While both children going back to school is bittersweet, it’s time for me to start working on a few things I’ve been meaning to get done. We are all done with our back to school shopping and the only pending items are our back to school signs and memory binders. If you loved the Back to School Sign and Tutorial I shared with you last year, you’re going to love this post!
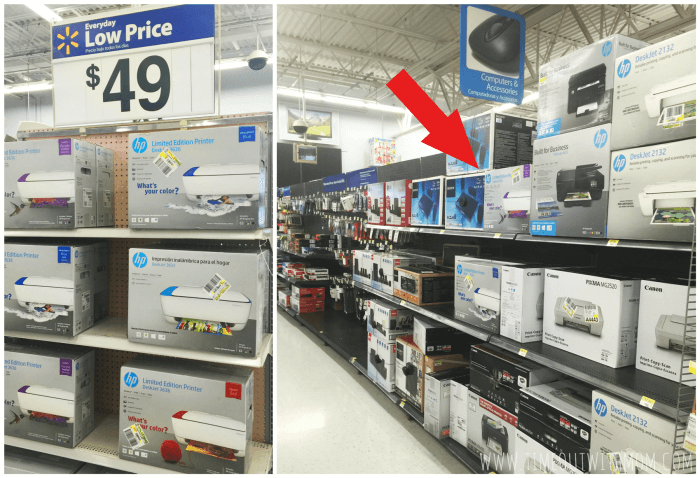 With Bunbun heading into a grade that will require “projects”, we thought now would be a great time to replace our dusty old printer. We knew we wanted a wireless printer or at least a portable printer that was affordable with reasonable costs on ink refills. So, we checked out the electronics department at our local Wal-Mart and found the NEW HP Deskjet 3636. I immediately noticed that I could simplify many of my daunting tasks with this printer. It prints, scans and copies. A dream come true for me! I made sure I brushed up on all of the Facts when buying a new printer and am happy with my choice.
As soon as I got home, I trashed the old one and set up our new ‘purple’ printer as Bunbun would call it. It also comes in Vibrant Red and Dragonfly Blue, but the Sporty Purple got me! I was able to hook it up quickly and there was no set-up to run. I literally plugged it in and was able to print. I also saved some desk space in the process. I don’t think I’ve ever had it this easy with electronics before.
Since set-up was a breeze, I had more time to work on a few additions to my back to school memory binder and I am so excited to finally share them with you!
- A printer
- 2″-3″ Binder
- Divider Tabs
- Label Maker (optional)
- Sheet Protectors
- Pens
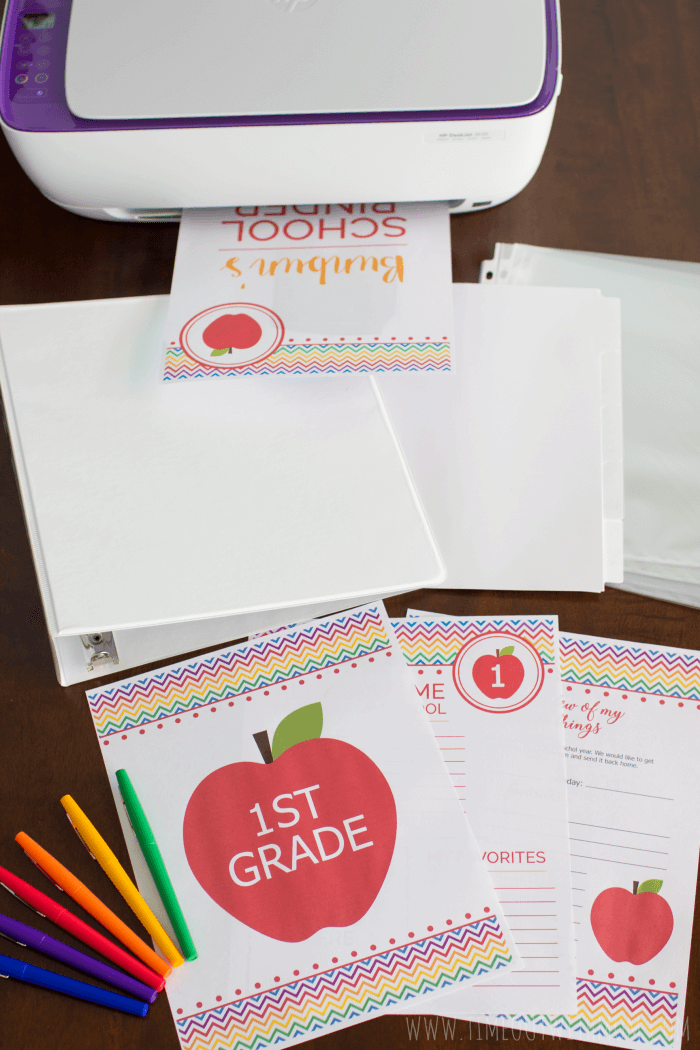
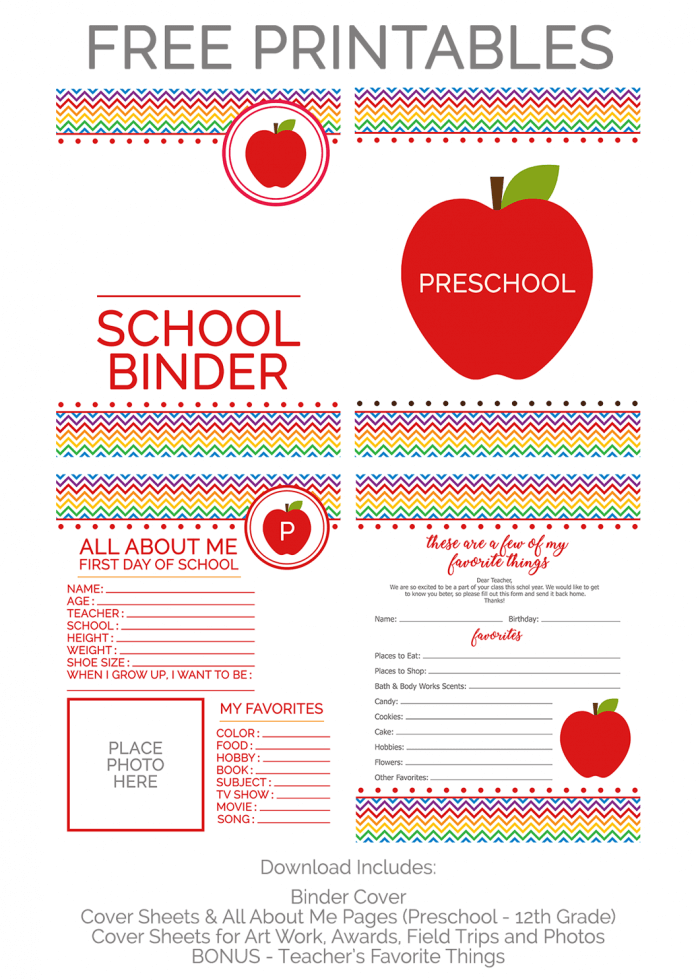
- Memory Binder Printables
Each printable is 8.5?x11?
Note: Printables/Images are for personal use only. Not for resale
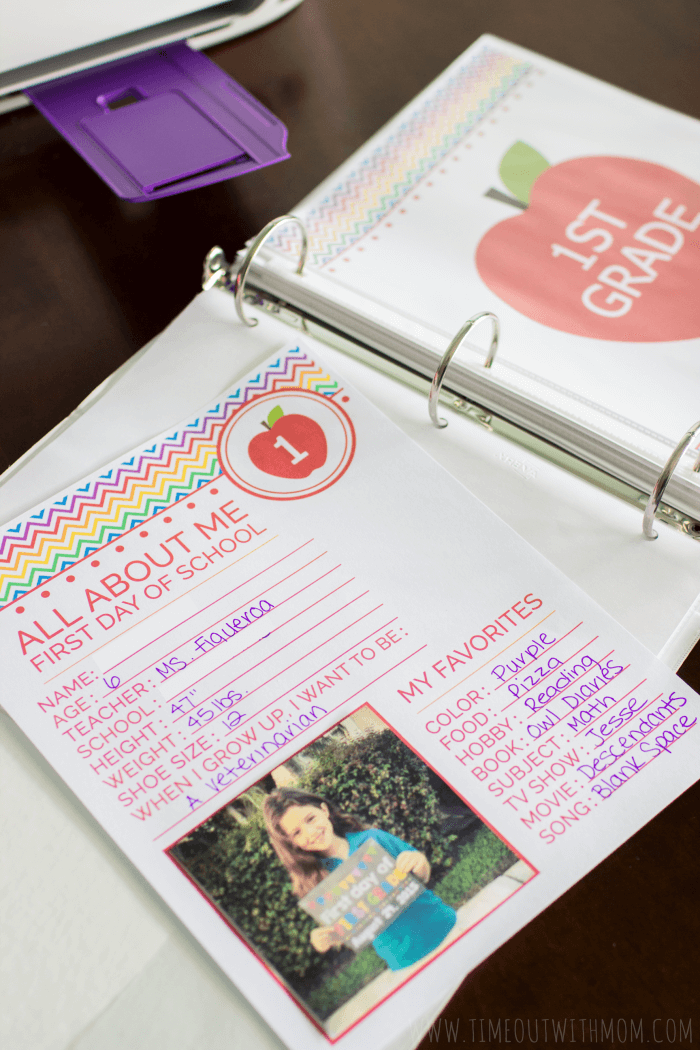 Once you’ve printed out all of your sheets, piece your binder together in the order you’d like to keep it. I always start mine with the Grade Cover Page, followed by the All About Me page and then I usually add the extras such as Art Work, Awards, Field Trips and Photos. I place everything inside of sheet protectors so they don’t get ruined and I add pages throughout the year. At this point, you could also utilize any extra help like getting a thermal binding for all the documents, which could help add a customized touch to your documents. My favorite section is the Art Work. I love to see how their art and creativity has changed from year to year.
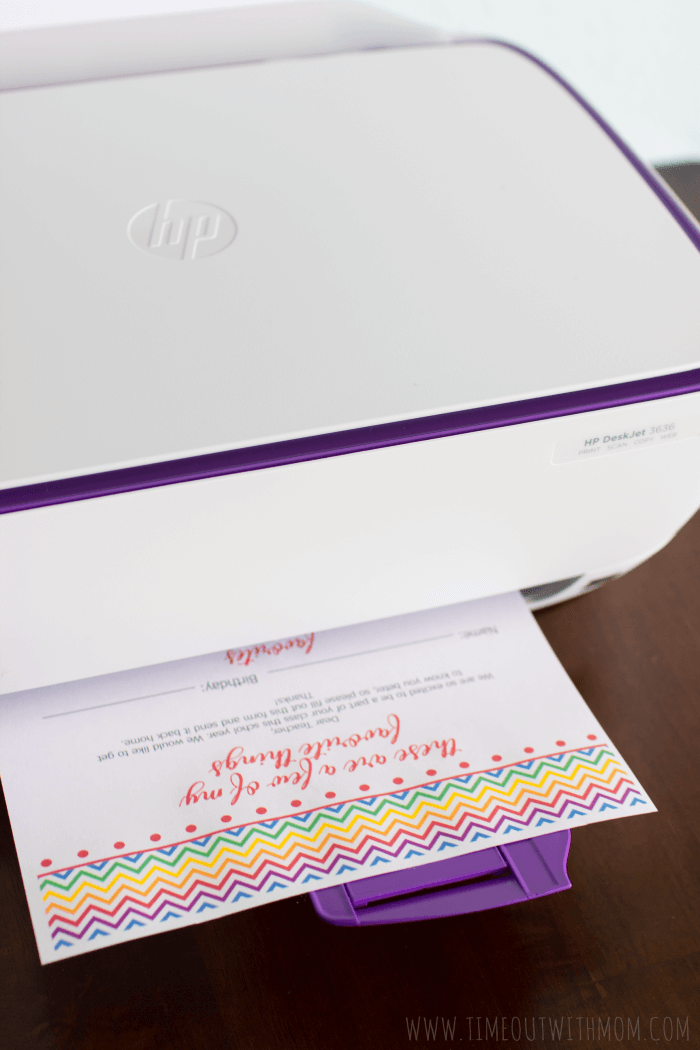 This year, I created a Teachers Favorite Things sheet. I think it’s important to get to know your child’s teacher and this sheet really helps with those difficult decisions of what to purchase for the Holiday’s, Teacher Appreciation and Birthdays. It really helps to take the guesswork out of it, and you know you are giving them something that he/she will like.
Now that we have a new printer, I am definitely looking forward to using it more. I am so excited to print coloring pages for the kids, all of my coupons and even recipes with the free HP Printables – delivered on my schedule! Check out the full line of HP Printers and find your color for back to school!
How do you preserve your child’s school year memories?




What a cute idea, I’m always finding her school photos and awards stuck in various places, a terrific way to be organized and prepared ahead of time.
I have been looking for something like this! Thank you for sharing! 🙂
Excellent post. I used to be checking constantly this
weblog and I am inspired! Very helpful info specially
the remaining phase 🙂 I handle such info much. I
was looking for this particular info for a very lengthy time.
Thanks and good luck.